
.JPG)
Hello beautiful reader! Today's blog post is very special. Not only am I sharing a very easy-to-make and pretty DIY project with you, but I am also doing my very first giveaway on the blog. This project is perfect for you girly girls, but if you're not a girly girl or you're just not a girl, don't worry. This would make a nice gift for that girly girl in your life.
I held off on doing a giveaway on my blog for so long because I've been focusing more on improving Interiors a la Vogue, coming up with a more consistent posting schedule. and providing a wide variety of content. I finally got tired of waiting around to do this giveaway. I said to myself: "if not now, then when?" Sometimes in life we put things off and we continue to put them off and we either never get to them, or when want to do them it's too late. As I get older, I have come to realize that life is about NOW. I am a big believer in appreciating the past and planning for a better tomorrow, but we must take advantage of every single day we get in life and make a way to get something done TODAY! Since this is something I wanted incorporate into my blog and kept putting it off, I thought this would be a good opportunity to challenge myself to just do it! The time is now, so let's get right to it!
On one of my recent visits to Target I stopped by their dollar spot. I love stopping there because they always have the cutest and coolest things for $1.00-$5.00. You can't beat that! I came across a Valentine's Day card with this lovely print of a girl holding a bunch of balloons. I immediately fell in love. I thought this print was so cute and perfect for a fashionista. I then saw a gift bag with the same print. I purchased both of them because I couldn't pass up on the cuteness and I also knew I could come up with a creative way to use these items. Right away I knew I wanted to frame the card. Then I got the idea of cutting the bag and placing it in a bigger frame since the bag is bigger than the card. I also thought it would be neat to stuff the bag with some pretty pink silk roses that I already had in my craft bin. Below you will see three different ways to use this adorable print to spruce up your vanity or desk or any room in your house where you like to put pretty little things. I also included step-by-step instructions on how to frame the bag. Check it out!
Idea #1: You can frame the card on a beautiful baroque style frame from Ikea
.JPG)
Idea #2: Frame the bag on a larger (8 x 10) frame
.JPG)
You will need the following items to complete this project:
- A frame of your choice
- Gift bag with print
- Rosettes (Michael's or Jo-Ann Fabrics)
- Card stock paper of your choice
-Scissors
-Tape
.JPG)
Cut along the edge of the bag...
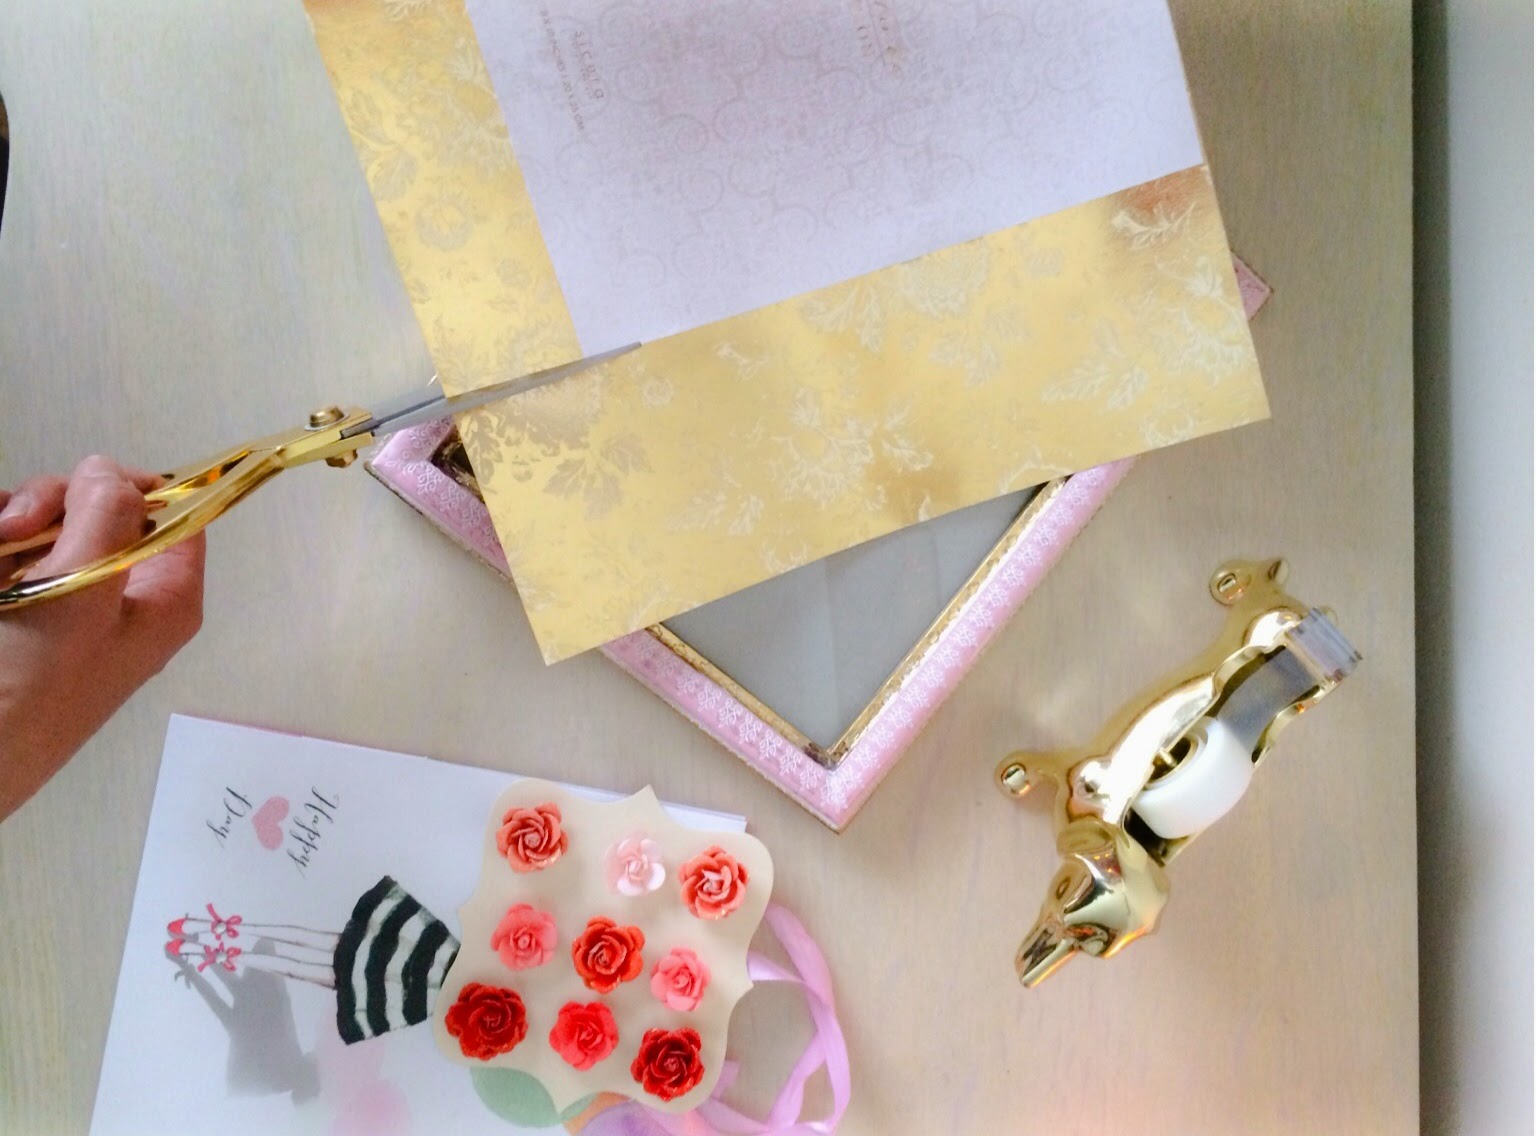
Place the paper that comes inside the frame on top of the card stock paper and cut to fit the size of the frame. I used an 8" x 10" frame for this project that I picked up at Homegoods.

First, remove the ribbon that is used as a handle for the bag. Turn the back of the print and place double sided tape. Place the print on the center of the card stock paper and press it down to adhere.

Once the image is placed inside the frame, select two rosettes and place them on the glass in the area that shows the holes where the handle of the bag used to be. Make sure that the glass has been cleaned and dried before placing the rosettes.


Idea #3: Place flowers inside the gift bag

The cool thing about this project is that you can use any nice gift bag or print of your choice. This lovely print looks adorable on my dresser and not to mention it matches perfectly with my room decor.
I hope you guys enjoyed this fabulous DIY project. Now let's move on to the fun part. One of you lucky readers will have the chance to win one of these three DIY project ideas I came up with. Leave me a comment below letting me know which one of these three ideas was your favorite:
1.The girl holding balloons card in a baroque style frame
2.The pink frame with the girl holding baloons print with rosettes
3. The gift bag with 3 roses
Don't forget to enter all the subscriptions in the raffle copter below for your chance to win. A winner will be selected randomly. You have until February 21st to enter this contest and I will announce the winner on February 22nd. I hope to see you back here again for more fun DIY projects, style posts, home decor ideas, giveaways, and so much more. Have a beautiful day!
a Rafflecopter giveaway
The picture frame and the flowers was my favorite - shaunie
ReplyDeleteHi Shaunie! Thanks so much for stopping by my blog. Be sure to enter the giveaway using the raffle copter above for your chance to win this lovely frame. : )
DeleteThe pink frame with print and rosettes
ReplyDeleteHi Eveliss! Thanks so much for stopping by my blog. Be sure to enter the giveaway using the raffle copter above for your chance to win this lovely frame with the print and rosettes. : )
ReplyDeleteI love all three of them (couldn't decide, because I am a girly girl, love pictures and flowers). Great job on the posting regarding the encouragement and enthusiasm to "do it now" (don't wait for tomorrow)!!!
ReplyDelete